

In this post, we want to show how you can easily translate a website with the WordPress plugin translationMANAGER for WordPress.
Before we get started
You need a WordPress multisite for a professional translation with translationMANAGER for WordPress. Each page within this page network corresponds to a language version. In our case there is a German, an English, and a Dutch version of eurotext.de. Further language versions are currently in progress, but not yet available.
Our experience shows that when working in a staging environment, some problems can occur during WordPress internationalization. After some tests, we therefore decided to translate directly in the live system. Of course, this requires that work is always done very carefully and that special care is taken to ensure that unfinished pages are not visible to visitors and search engines.
1. Creating a new page
If a new language is to be added, the first step is always to create a new page via Network administration/Websites. You can either create a completely new page or copy an existing one. A copy has the great advantage that many settings and contents are transferred and the individual pages and posts are automatically linked. Select the “Based on website” option in this case.
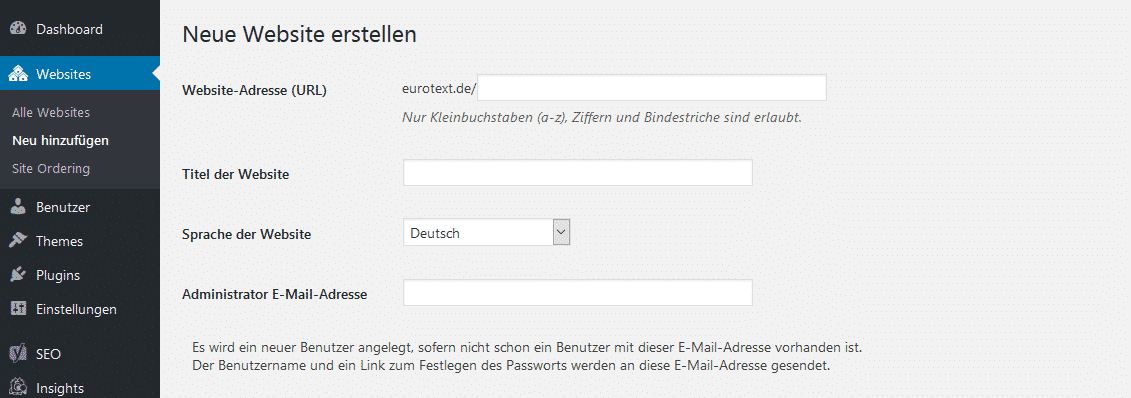
The language of the new page must of course also be selected when creating it.
Make sure that search engines cannot access the incomplete page. For this purpose, you have to activate “Stop search engines from indexing this page” when creating it. You can also find this setting under “Settings/Read”. Search engines should only be permitted again once the site has been fully translated and is online.
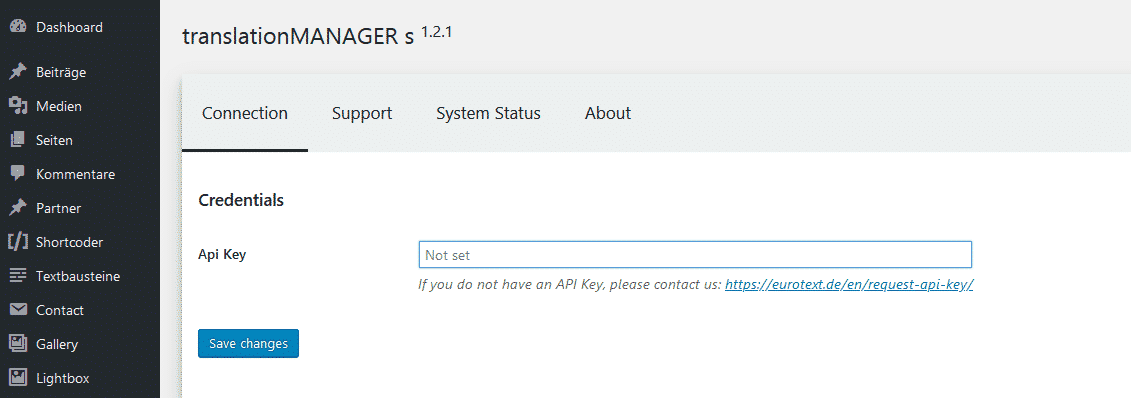
Finally, the translationMANAGER must be configured for the new page. To this end, you have to insert the API key you got from Eurotext under “Translations/Settings”. You usually need only one key per WordPress multisite, which must be inserted in all language variants. So you can simply copy it from another page and paste it here.
After creation, check that all settings are correct, the correct theme is selected, etc.
2. Exporting and translating content
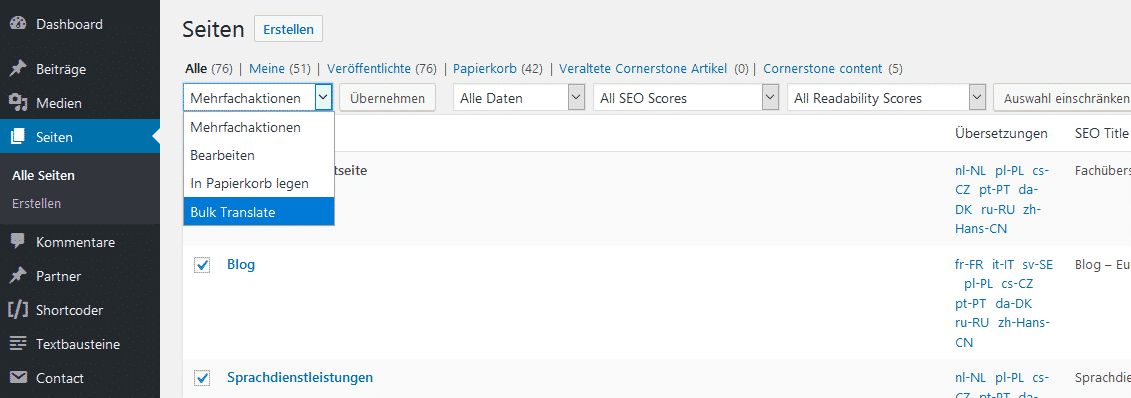
Now, open the page overview (“All Pages”) in the source language (usually German). If there are a lot of pages, you can enter a correspondingly high value at “Customize view/Entries per page”, so that all entries are displayed on one page. Next, you have to select all pages to be translated. The “Bulk Translate” multiple action is used to start a project and send it to Eurotext for translation.
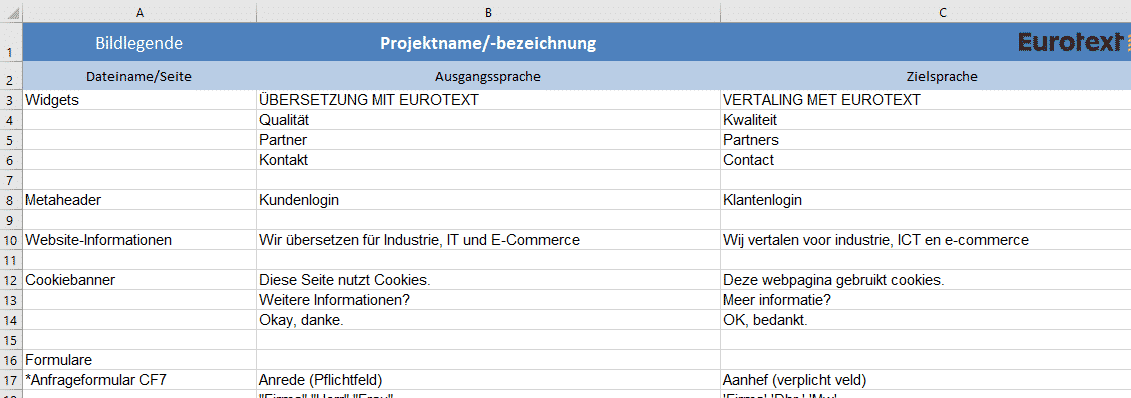
At this point it is recommended to create an Excel list with texts that are not automatically exported. Reminder: translationMANAGER only exports titles and contents of pages, posts, and certain custom post types.
In other words, SEO titles and descriptions, excerpts, user-defined fields, alt tags of images, texts in graphics or banners, forms, widgets, individual menu items, slugs, popups, error messages, etc., are not exported. The contents of shortcuts are usually ignored during translation as well. If you enter these texts in an Excel list and send it to Eurotext, it can be translated at the same time and is then available when you import the translations.
After translation, the contents are imported with translationMANAGER and are now available in the corresponding language.
Now, let’s get to work. You best make a list of all pages and work steps. You can check them off step by step later and don’t lose track.
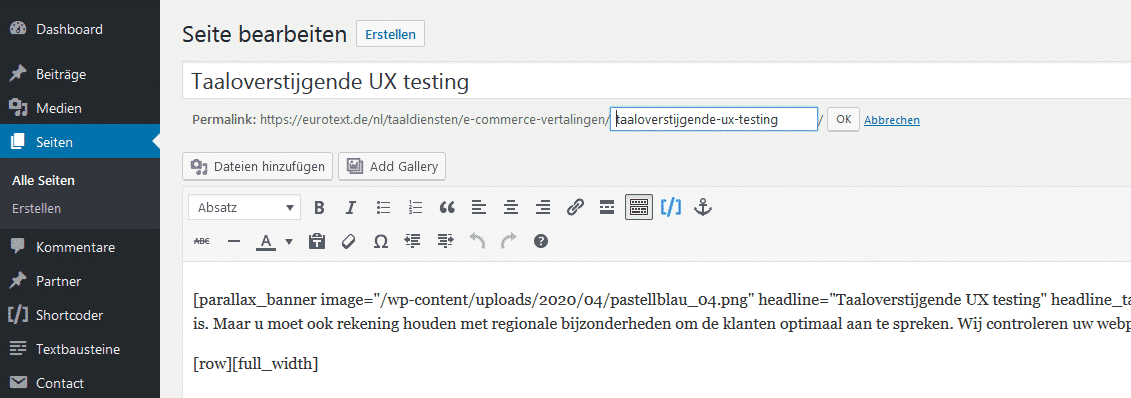
3. Slugs/Permalink
Open all pages and articles one by one and edit the “Permalink”. It cannot be translated automatically. In most cases it is sufficient to insert the translated “title” here.
4. Menus
Check the menus for correctness. Usually, the menu items automatically adapt to the translated page titles. However, if they were adapted manually in the source language, the same applies for the target language.
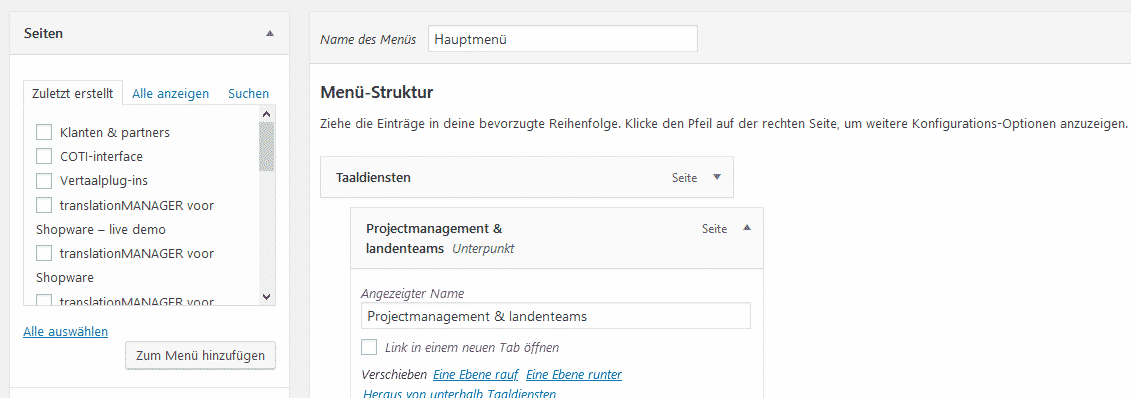
Ensure that external or individual links direct to the correct language version.
The different language versions of a website can usually be selected using the “Language Switcher” menu. Select all languages you want to link to here. Make sure that you only link to pages that are already finished and made public.
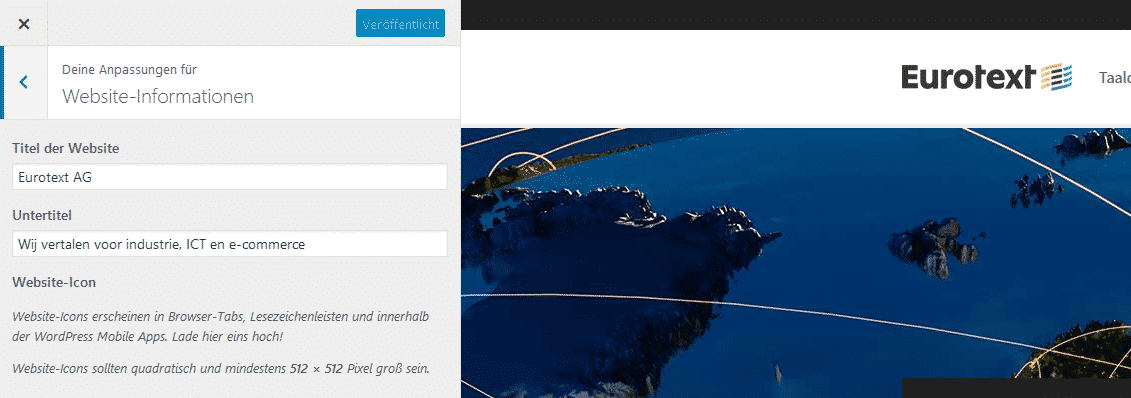
5. Widgets/Customizer
Check the widgets that are displayed, such as in the footer or sidebar. Headings, contents, etc.
Some websites also have texts in the header that can be edited using the Customizer. In our case, this applies to the “Customer login” and the phone number. And while you’re in the Customizer, check if the “website information”, in other words, page titles and subtitles, need to be adjusted.
6. Forms
Usually only the frontend has to be translated for forms (we use contact form 7). Moreover, only the parts which are actually output have to be done.
Please don’t forget the success or error messages that may be displayed during the submission process.

7. Pages/posts
Now, back to the pages and posts. Each must be opened and checked individually.
-
- Are all images displayed correctly? The captions or alt tags generally have to be adjusted. If the image contains text (as is often the case with banners or graphics), correspondingly translated files must be inserted.
- What about the forms? The short code usually has to be inserted again because the ID of the forms is different in the target language.
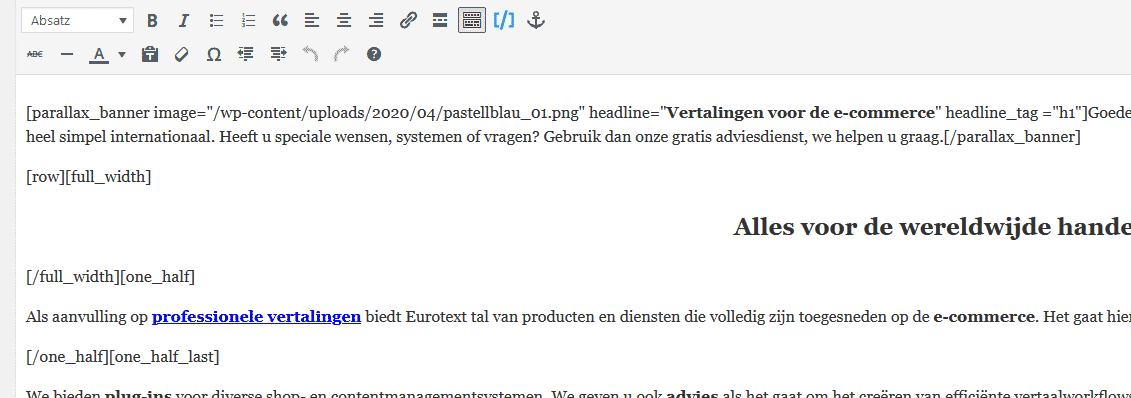
- If short codes are used, they must of course be checked and adjusted if necessary. In our case, these are, for example, the banners and header images.
- Very important: All links, whether text links, linked images, or buttons must be checked. Links to pages or posts almost always have to be reset, because they refer to the German page title.
The
- SEO title and SEO description must be changed.
- To be on the safe side, you should also check if the page attributes are correct. Is the correct template used?
Afterwards, the page must be checked in the frontend, in other words, from the visitor’s perspective. Many errors become really visible only here.
8. SEO (Yoast)
Check if the Yoast settings are correct and correspond to those of the source language. That includes company title and logo, the settings for archives and categories, etc. These are not transferred over from the template when creating new pages.
Completion
Once all pages and posts have been adjusted and corrected, you should thoroughly review the site as a whole from a visitor’s perspective. Small errors are often especially hidden within links, alt tags, and forms. If possible, a native speaker, who is more familiar with websites in the applicable language and can also verify the wording in the final context, should assist here.
Once the verification is successfully completed, the page can go online.
- Activate the status “public” in the page settings.
- Permit search engines under “Settings/Read”.
- Edit the language selection menus so that all public pages link to each other.