
Contents
- MultilingualPress
- Installing translationMANAGER
- Setting up translationMANAGER
- Creating and Managing Projects
- Inquiry for Translation
MultilingualPress
translationMANAGER is a plugin that allows a user with the correct roles to request a translation of one or multiple articles, pages etc. However, translationMANAGER cannot import the content into the correct location because it does not have any information in relation to this. A Multilingual plugin is required for this purpose.
translationMANAGER currently supports WPML and MultilingualPress 2 and 3. We strongly suggest using translationMANAGER with MultilingualPress3, which is a better solution in terms of page speed and maintainability.
MultilingualPress requires some setup and our documentation provides information on how to connect sites and content.
Knowledge of how to connect content is not required, because the MLP module which is included in Translation Manager will carry out this task.
Basically, when you request a translation and import it afterwards, the MLP module will perform the task in the background.
Installing translationMANAGER
To install the translationMANAGER plugin after installing MLP, go to Network Admin > Plugins > Add New and search for translationMANAGER.
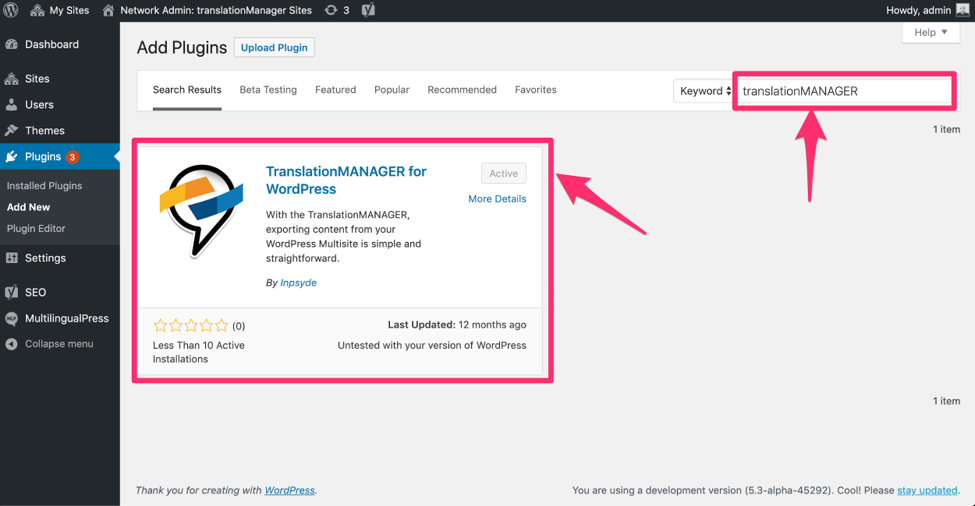
As this is a network installation, the plugin can be activated for the entire network.
This will automatically make the plugin available to all sites within the network.
Setting up translationMANAGER
For translationMANAGER to work correctly, the API key has to be set.
Every site has its own settings and it is possible to have different API keys for each site or to use one API key for all sites.
To add the API key, go to translationMANAGER > Settings > Connection from within a site.
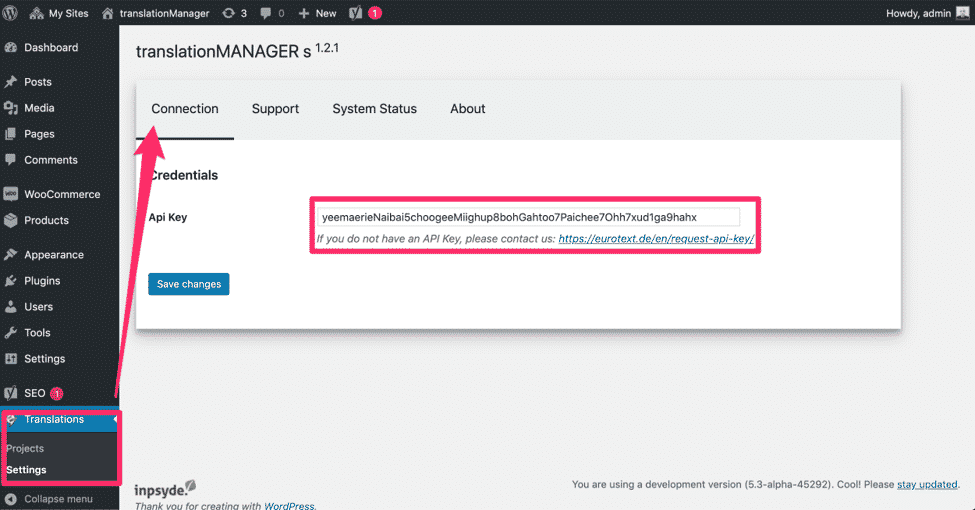
Enter the information in the Api Key field and click on Save changes.
Now you are ready to create projects and translate content.
Creating and Managing Projects
There are two ways to create a new project.
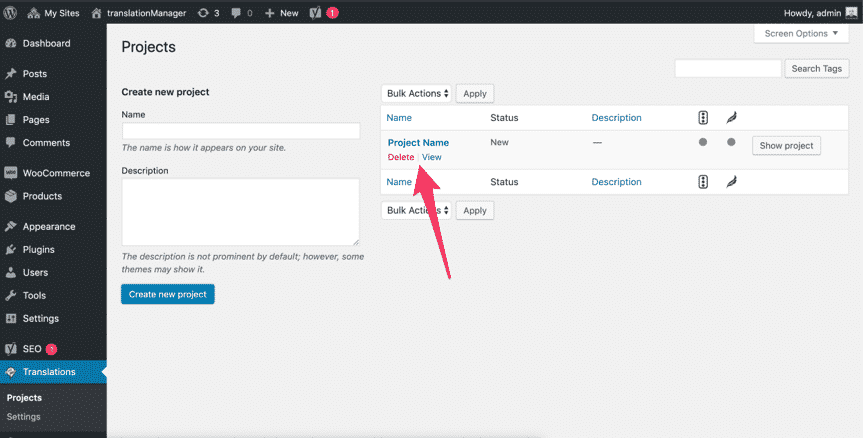
Go to translationMANAGER > Translations > Projects and complete the fields under the section Create new project. The description is optional and can be omitted.

You can Delete or View the project by hovering over the project name in the table on the right.
The second way to create a project is to request a translation, which is described in the Inquiry for Translation chapter.
Managing the Project
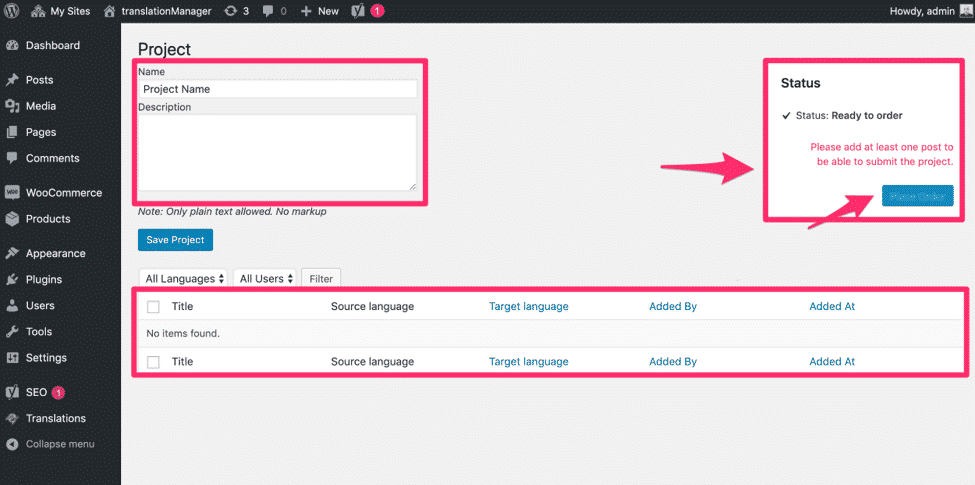
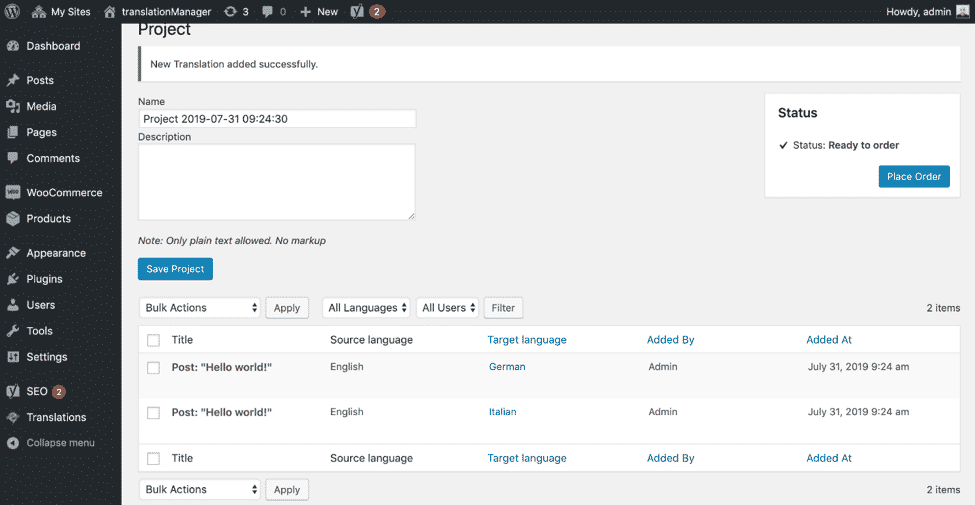
To manage the project, click on the View link to see the available actions below the project name.
The Project page makes it possible to change the project settings, order a translation, view the status of the translation and import the translation.
As much content as required can be collected before placing the order for translation.
Afterward, the status button can be used to get updates on the translations and to import the translated content.
Project Statuses
A project can have different statuses.
Pending
We have received your request for quotation.
Feedback
You have received the price, timeline and scope of the project. The quote is ready for approval by you.
Rejected
You have rejected the quote.
In progress
We are working on your project.
Finished
Your project has been completed and is ready for download.
Imported
The translations have been successfully imported into your system.
The initial status, when you have collected the content you want to translate and before you place the order, is: Ready to order.
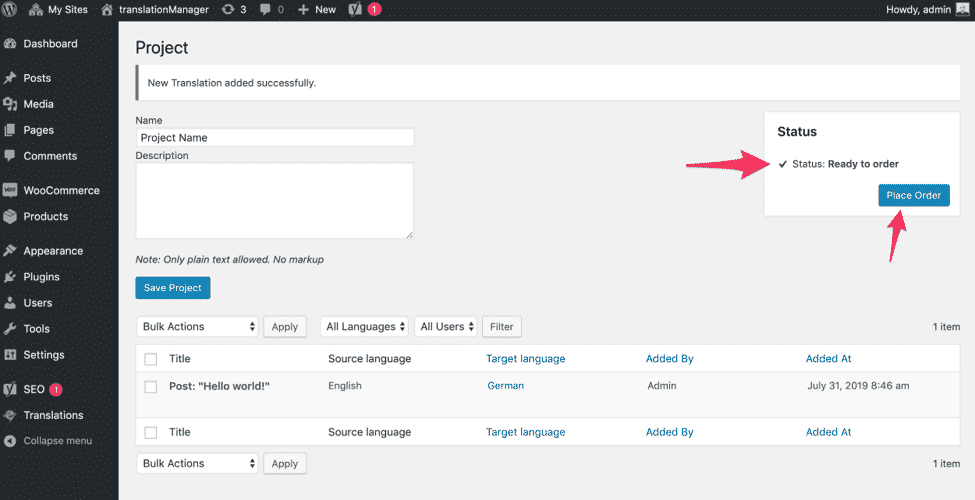
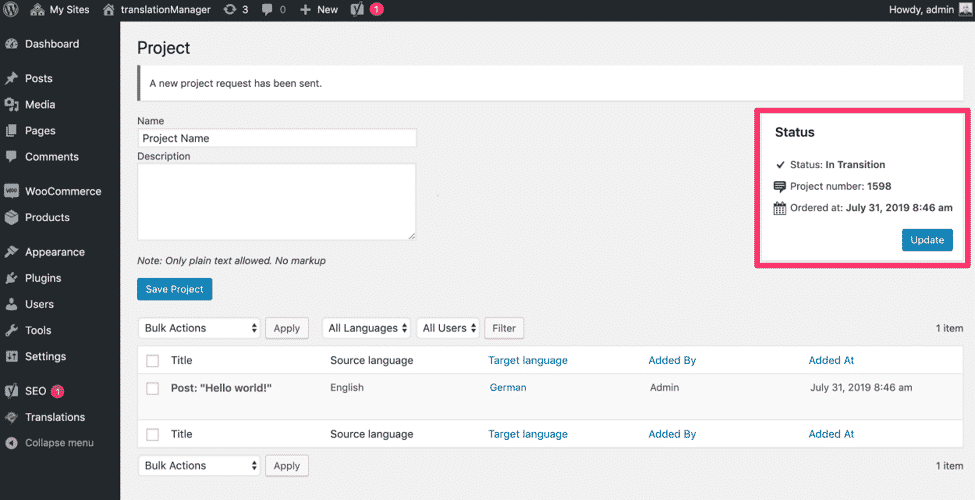
When you click on Place Order, the status of the project will change to In Transition, which means that the content you want to translate has been sent to the server.
To get updates on the current status of the translation, simply click on the Update button. One thing to note is the Project Number. This is the number of the project on the server which can be used when contacting support in case of problems.
Importing Project Content
When all the content within a project has been translated, the status of the project will change to Finished and the content can be imported.
Remember, the status can only be updated through an explicit update request by clicking on the Update button.
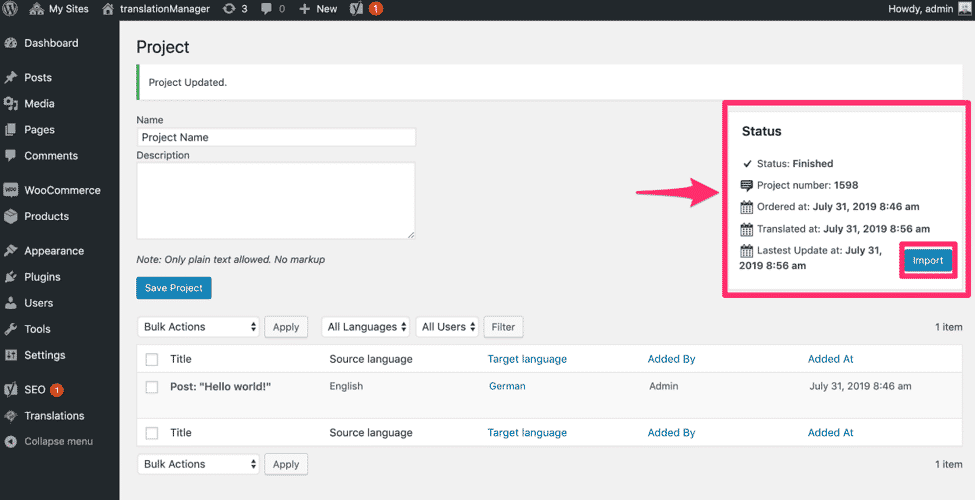
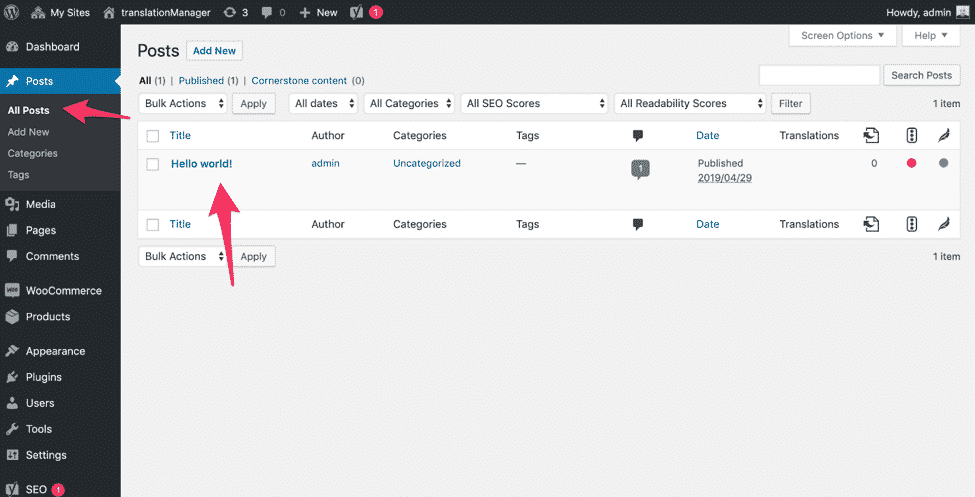
At this point, all that is required is a click on Import and translationMANAGER will do the rest.
After the content has been imported, it is always possible to re-import the content. This is useful because it makes it possible to remove a translation for any reason whatsoever and import a new one.
But this feature has a downside, as it creates new content without checking if translated content is already present.
This is not a problem because it does not affect the existing content. However, importing the translations multiple times will create duplicate content.
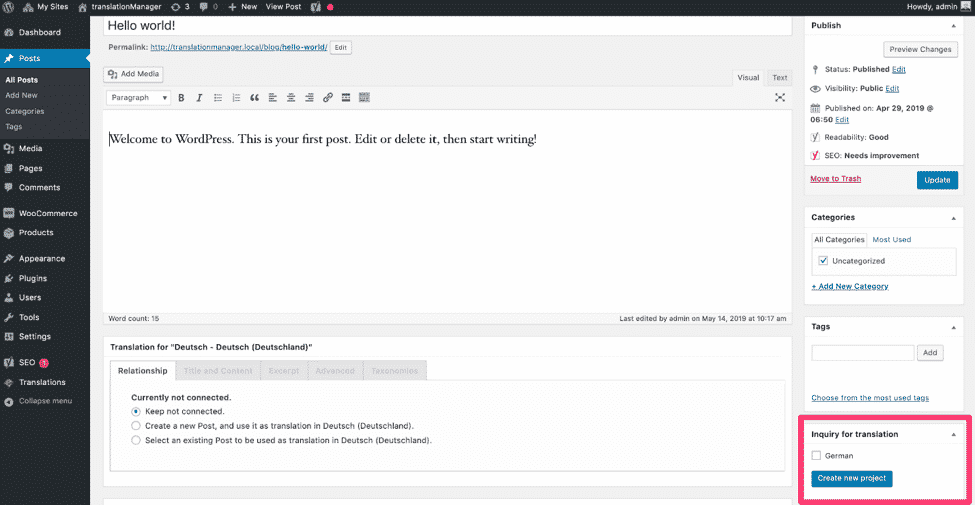
Inquiry for Translation
To include content in a project, simply to go to the Edit content page. A metabox is located on the right-hand side with the actions that can be performed to add the content to an existing project and select the languages into which the content is to be translated.
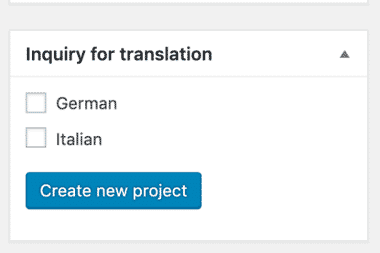
It is only possible to select languages which are already present. In the case of MultilingualPress, they have to be on a site which is linked to the current site where content is being edited, otherwise the language for which translation is required will not be shown on this page.
Taking a site with English, German and Italian as an example: English and German are linked to each other but Italian is not linked to any site, so it is not possible to translate your post into this language.
To do so, the Italian site has to be linked to at least to one of the other sites (because MLP will link the site to the others automatically).
This can be done by going to Network Admin > Sites > Site Name > MultilingualPress and linking it to the other sites.

After this has been completed, the language is available in the Inquiry for Translation box.
As mentioned before, a project can be created from the Inquiry for Translation box but it is also possible to select a project if one or more are already present.
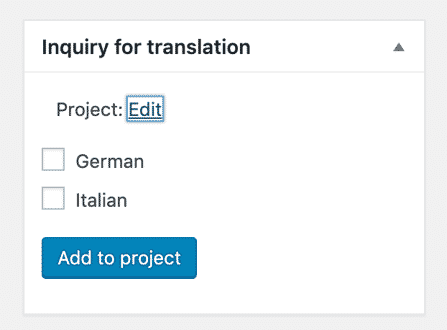
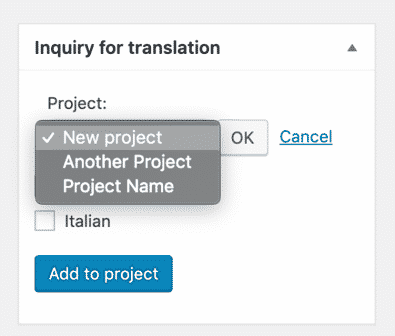
So you either choose a project or create a new one, then select the languages into which the current content is to be translated and add the content to the project by clicking on Add to project.
Clicking on Add to project will open the Manage Project page, where an entry for the content is listed in each language.
The subsequent steps which can be carried out are identical to those defined in the chapter Creating and Managing Projects.
TranslationManager also provides support for some Yoast Seo meta data, so if a description was added, a seo title will be translated for this as well. The process is completely transparent to you.